Ever wonder the steps that we have to take to actually, physically print your design onto garments? Well buckle up, because here is a step by step guide to our process!
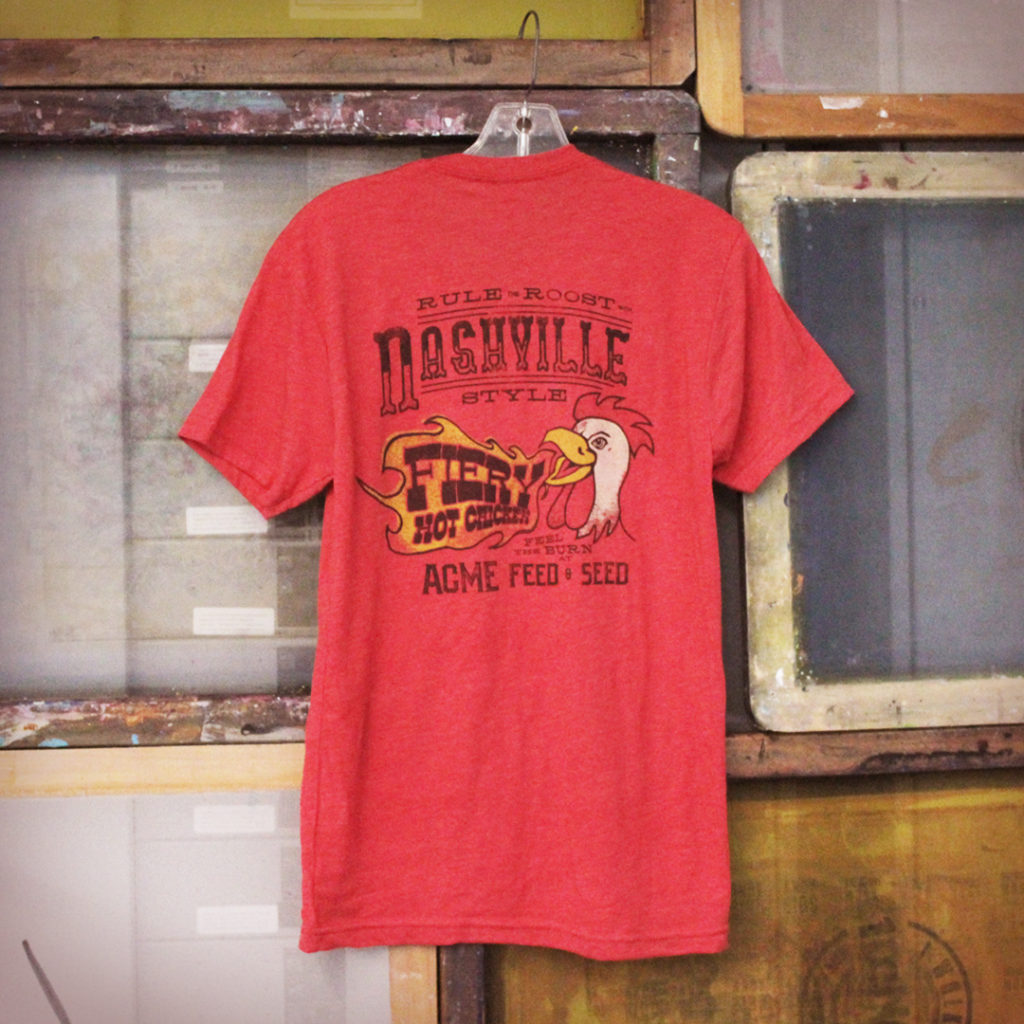
(Here is a journey through our printing of a t-shirt for our friends over at ACME Feed and Seed, in downtown Nashville! Go check them out!)
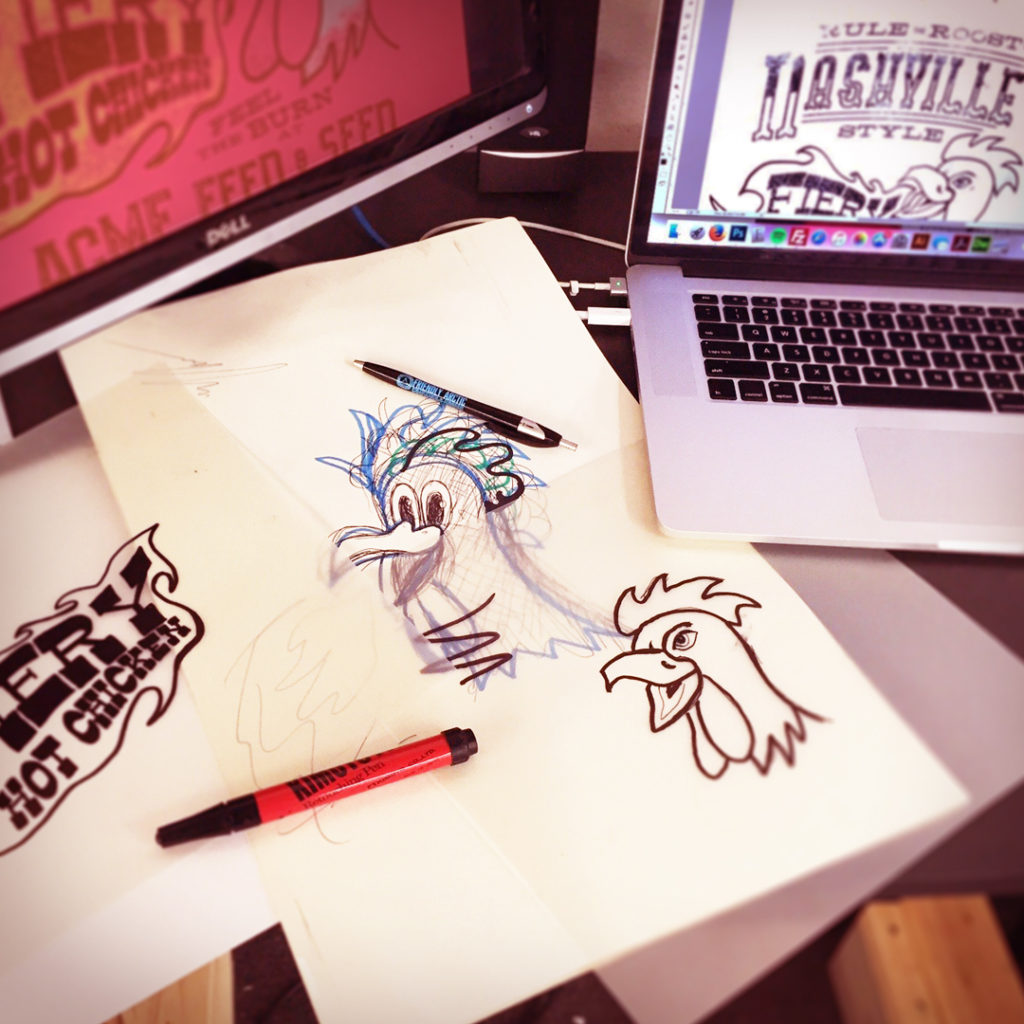
Step 1: Mockups and quoting
Before we even get started creating the screens, we will be able to digitally show you how your design will look printed onto the shirt that you pick out. We take our time with mockups. These show you the approximate sizing and placement of your print. We digitally represent specific ink and shirt colors as accurately as possible. We also take this time to outline the pricing on a per-order basis, to make sure that you know exactly how much a project will cost before we start on it. Once we lock down the design and pricing, we move on to creating the screens!
Step 2 : Burning Screens
Each color in your design gets its own screen. Screens are coated with photosensitive liquid, called emulsion liquid, and set to dry in our darkroom. We digitally separate your design into color separations, and turn each color in your design into it’s own completely black image. These images are then inkjet-printed onto clear film. Each of these black images are placed in front of the coated screens, and exposed to UV light. Whatever emulsion liquid was exposed to the light hardens.
Whatever emulsion liquid was blocked by the fully black image does not harden, getting “burned” into the screen. This gets blasted out by a power washer, which leaves the shape of each color separation as a stencil in its place. There are different judgement calls that the screen tech will make. How high or low should the mesh count for the screen be? Lower mesh screens allow more ink to go through, for big, thick, fully opaque prints. Higher mesh screens allow for more detailed images. Where on the screen the image should be burned? That depends on the specific setup (sleeve prints, inside tag prints, or standard chest prints all vary).
Step 3 : Registering and Printing
Once we have every color that we need burned onto screens, we register the image on press. This is a fancy word for “lining it all up to form the final print image.” We use rubber squeegees to pull the ink through the stencils onto the shirt fabric. The ink is printed onto the shirts in the right order to make up your design! We currently have the capability of printing up to 6 colors per design.
Each printer must to choose the appropriate squeegee durometer to achieve maximum print coverage. Too soft, and the ink might squish over certain details. Too hard, and the coverage might be more difficult to maintain. This, combined with physical pressure (blood, sweat and tears) during printing, is how we can get nice crisp lines printed onto your shirts! After each screen color is printed, the shirt is dried on press with a heat flash while the shirt remains on press. This way another color can go down on top of the image without the wet ink coming off onto the back of the other screens.
Step 4 : Curing
After all colors in the design are printed and dried, the shirts are taken off press and sent through the conveyor belt oven. This is set at the appropriate temperature to chemically activate the inks so that they forever bond to the shirt fibers. This is called “curing,” and is what makes it so that you can wash your shirts without the water-based print coming off! We use a laser thermometer gun to make sure the inks are getting up to the correct temperature to cure. Pretty neat if you ask me!
Step 5: Breaking down screens
Now, while the shirts are all done and ready to be packed out, the fun doesn’t stop! Each screen and squeegee that was used has to be power washed again, to get all the ink off. Because we use water based inks exclusively, this process is nontoxic and quite easy. After being washed, the used screens get dipped into a vat of (for lack of a better term) acid. We use the most environmentally-friendly option available on the market for this process. The leftover, hardened emulsion liquid breaks down and disintegrates. The screens are then power washed a third and final time, which knocks all of the emulsion away down the drain. The blank silkscreen is left, ready to be coated and burned again and again!
And that’s it! You made it through the process! We’ve dialed it in over the years to operate as efficiently and effectively as possible. We repeat this process for every setup, which hopefully explains why we have the minimums that we do. We hope it also explains why we unfortunately can’t offer printed one-off samples.