Details, details, details.
These are what sets a print shop apart from the rest. There are approximately one-million ways to mess up a t-shirt. Through the years we’ve found most of them the hard way (and don’t worry, we’ve learned how to fix them too).
Often-times we get asked to print photorealistic designs. This is a difficult thing to pull of with screens, because they’re made of mesh. Ink can only go through the gaps in the mesh onto the garments. Unfortunately, that means we can’t print completely smooth, digital designs. Any shading or gradients have to be done through halftones, which are basically varying volumes of dots creating the illusion of shadows.
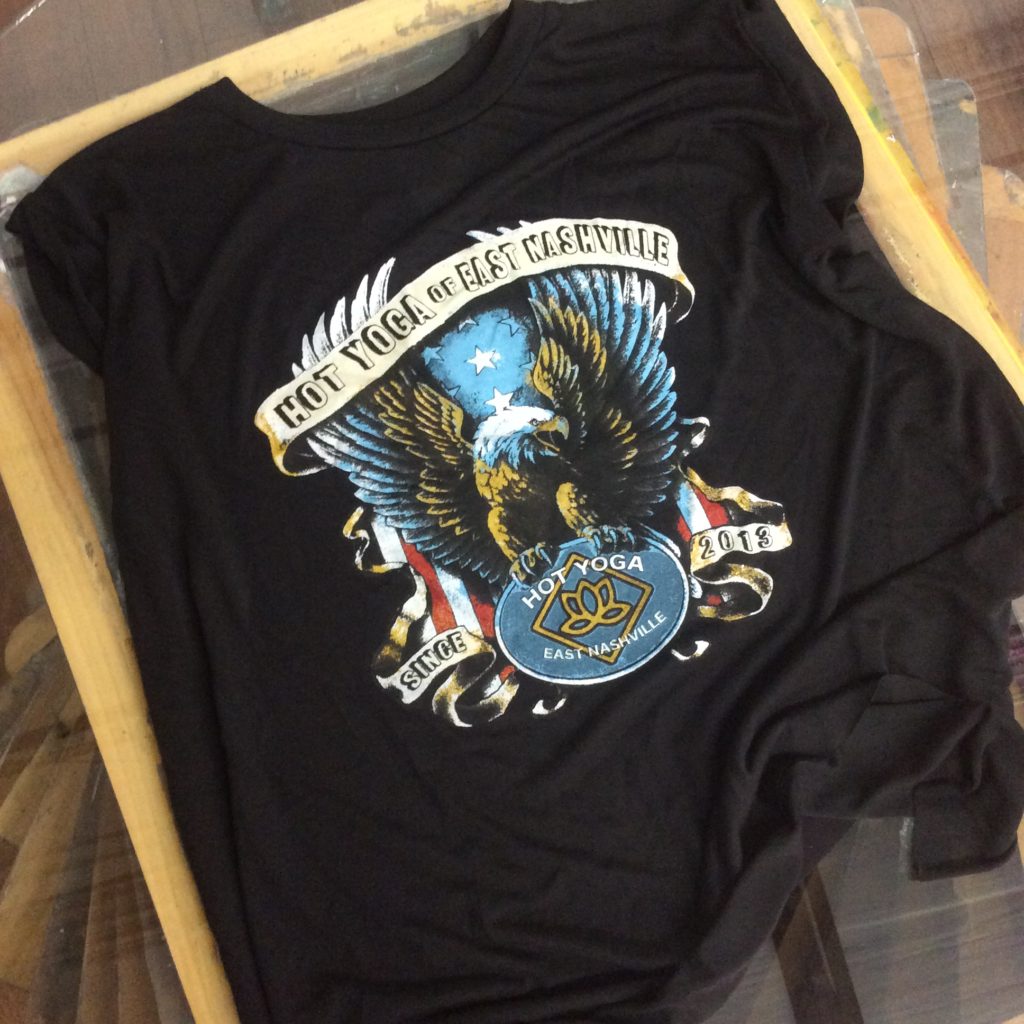
The screen tech chooses each screen to burn carefully (see our previous post about the burning process), based on what the final product should look like. Low mesh count screens, like 61s, 74s or 86s have bigger gaps between each thread of silk. These bigger gaps let more ink through, which creates heavier ink coverage and achieving a nice bright print.
High mesh count screens, like 230s, allow for fine details to appear in the screen, which allows for the smallest of dots to appear in the final print, as the image below shows. Less ink is allowed through in a pull.
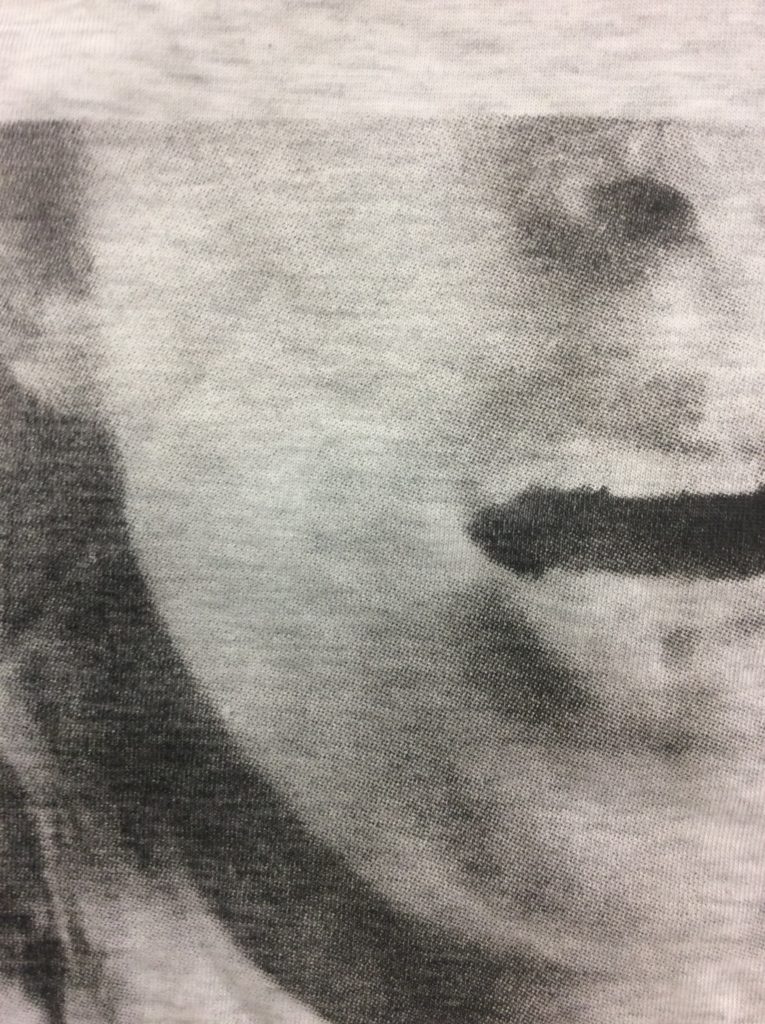
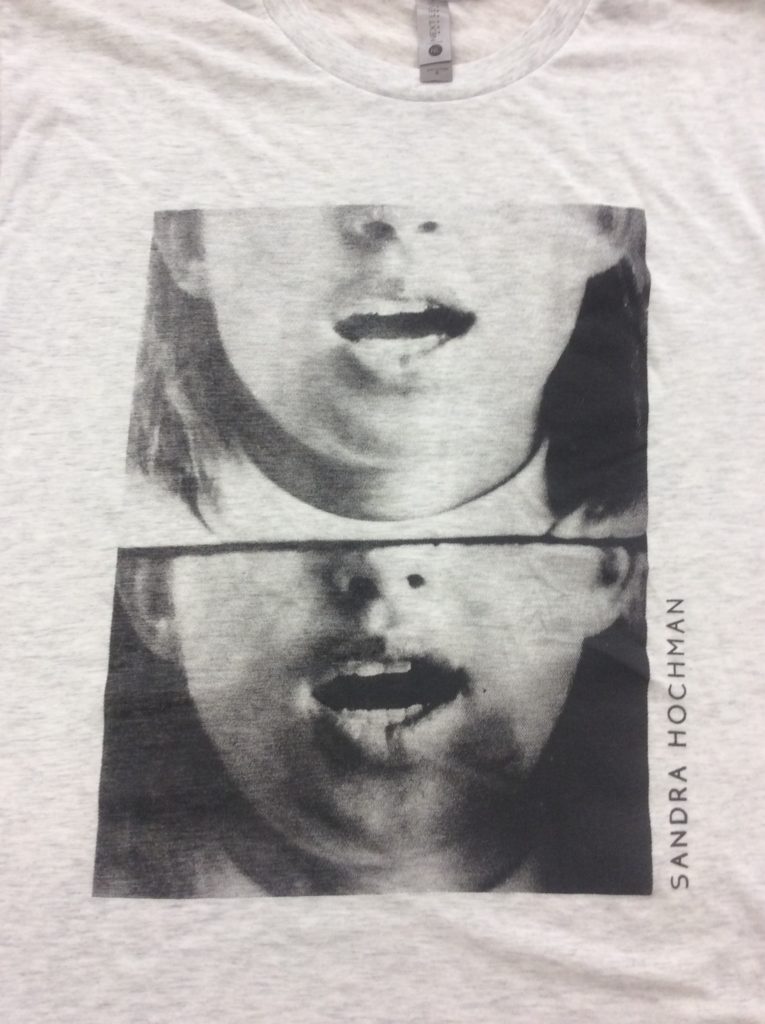
These high mesh screens are what we primarily use on photo prints which help us achieve some high quality details and create the illusion of the shadows that appear digitally in a very non-digital way! Very sneaky!
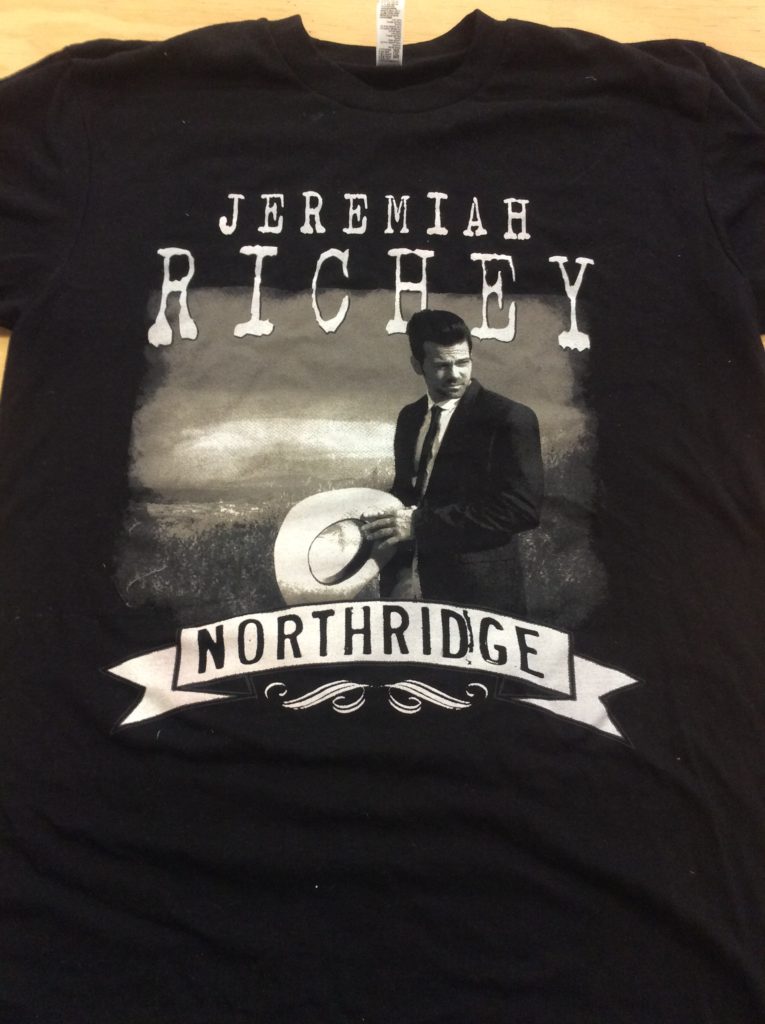
Sometimes more detailed black-and-white photo prints need to be printed on darker garments. For these we’ll usually have to create 2-3 halftone screens with varying shades of grey to further drive those shadows home, like the image below.
By using halftones to our advantage, we can get highly colorful and detailed prints to print within our 6-color maximum. This helps save our customers money, as screen printing is much more affordable for bulk orders than digital garment printing.